Everything You Need to Know About Installing a Residential Standing Seam Metal Roof
When it comes to roofs, a residential standing seam metal roof is quickly becoming one of the most popular and lasting options for homeowners. Not only does this type of roof provide a long-term utility that other types of roofs simply can’t match, but it also makes your house look great in the process! In this blog post, we are going to discuss everything you need to know about installing a residential standing seam metal roof – from materials needed and installation steps, to cost estimates and safety protocols. So if you’re in the market for an attractive yet durable new rooftop on your home, read on!
Residential Metal Roofing Services
Understanding the Benefits of a Residential Standing Seam Metal Roof
Homeowners are constantly searching for roofing options that are not only aesthetically pleasing but also durable and long-lasting. One option that has gained popularity in recent years is a residential standing seam metal roof. This type of roof offers many benefits, including superior strength and durability, enhanced energy efficiency, and low maintenance. With its distinct architectural look, standing seam metal roofs are a popular choice for modern homes. In addition, they are designed to withstand extreme weather conditions, including heavy rain, snow, and high winds. Investing in a residential standing seam metal roof means not only adding value to your home, but also enjoying the peace of mind that comes with a long-lasting and reliable roofing option.
Exploring Materials Options and Costs for Installing a Standing Seam Metal Roof
When it comes to installing a standing seam metal roof, the options for materials and costs can be overwhelming. However, it is important to consider the benefits of a metal roof, such as durability, longevity, and energy efficiency. With various material options such as copper, steel, and aluminum, it is crucial to carefully evaluate each one based on factors like budget, climate, and aesthetics. While the upfront cost may seem high, the long-term savings from reduced maintenance and energy bills make it a wise investment. By partnering with a trusted professional to guide you through the process, you can rest assured that you are getting the best material and cost options for your standing seam metal roof installation.
Comparing Different Manufacturers and Warranties
When selecting the materials for your residential standing seam metal roof, it is important to compare different manufacturers and their warranties. Different brands offer different levels of quality and protection, so it is essential to do research on each one before making a decision. Additionally, take a look at the warranty provided by each manufacturer – some may cover only the installation cost, while others may cover both material and installation cost. By understanding the warranties available from each manufacturer, you can make an informed decision about which materials are best for your roofing needs.
The Tools and Supplies You Need to Install a Standing Seam Metal Roof
Installing a standing seam metal roof requires the right tools and supplies to ensure a successful and long-lasting installation. Some of the essential tools include roofing hammers, snips, a chalk line, a measuring tape, and a drill. You’ll also need to invest in high-quality materials such as metal panels, flashing, and underlayment. These materials play a vital role in preventing leaks, protecting your roof’s insulation, and withstanding various weather conditions. With the proper tools and supplies, you can ensure that your roof installation will go smoothly and provide years of protection for your building. As always, it’s important to hire a professional roofing contractor to handle any challenging aspects of the job and to ensure that your roof is installed correctly.
Step-by-Step Guide on How to Install a Residential Standing Seam Metal Roof
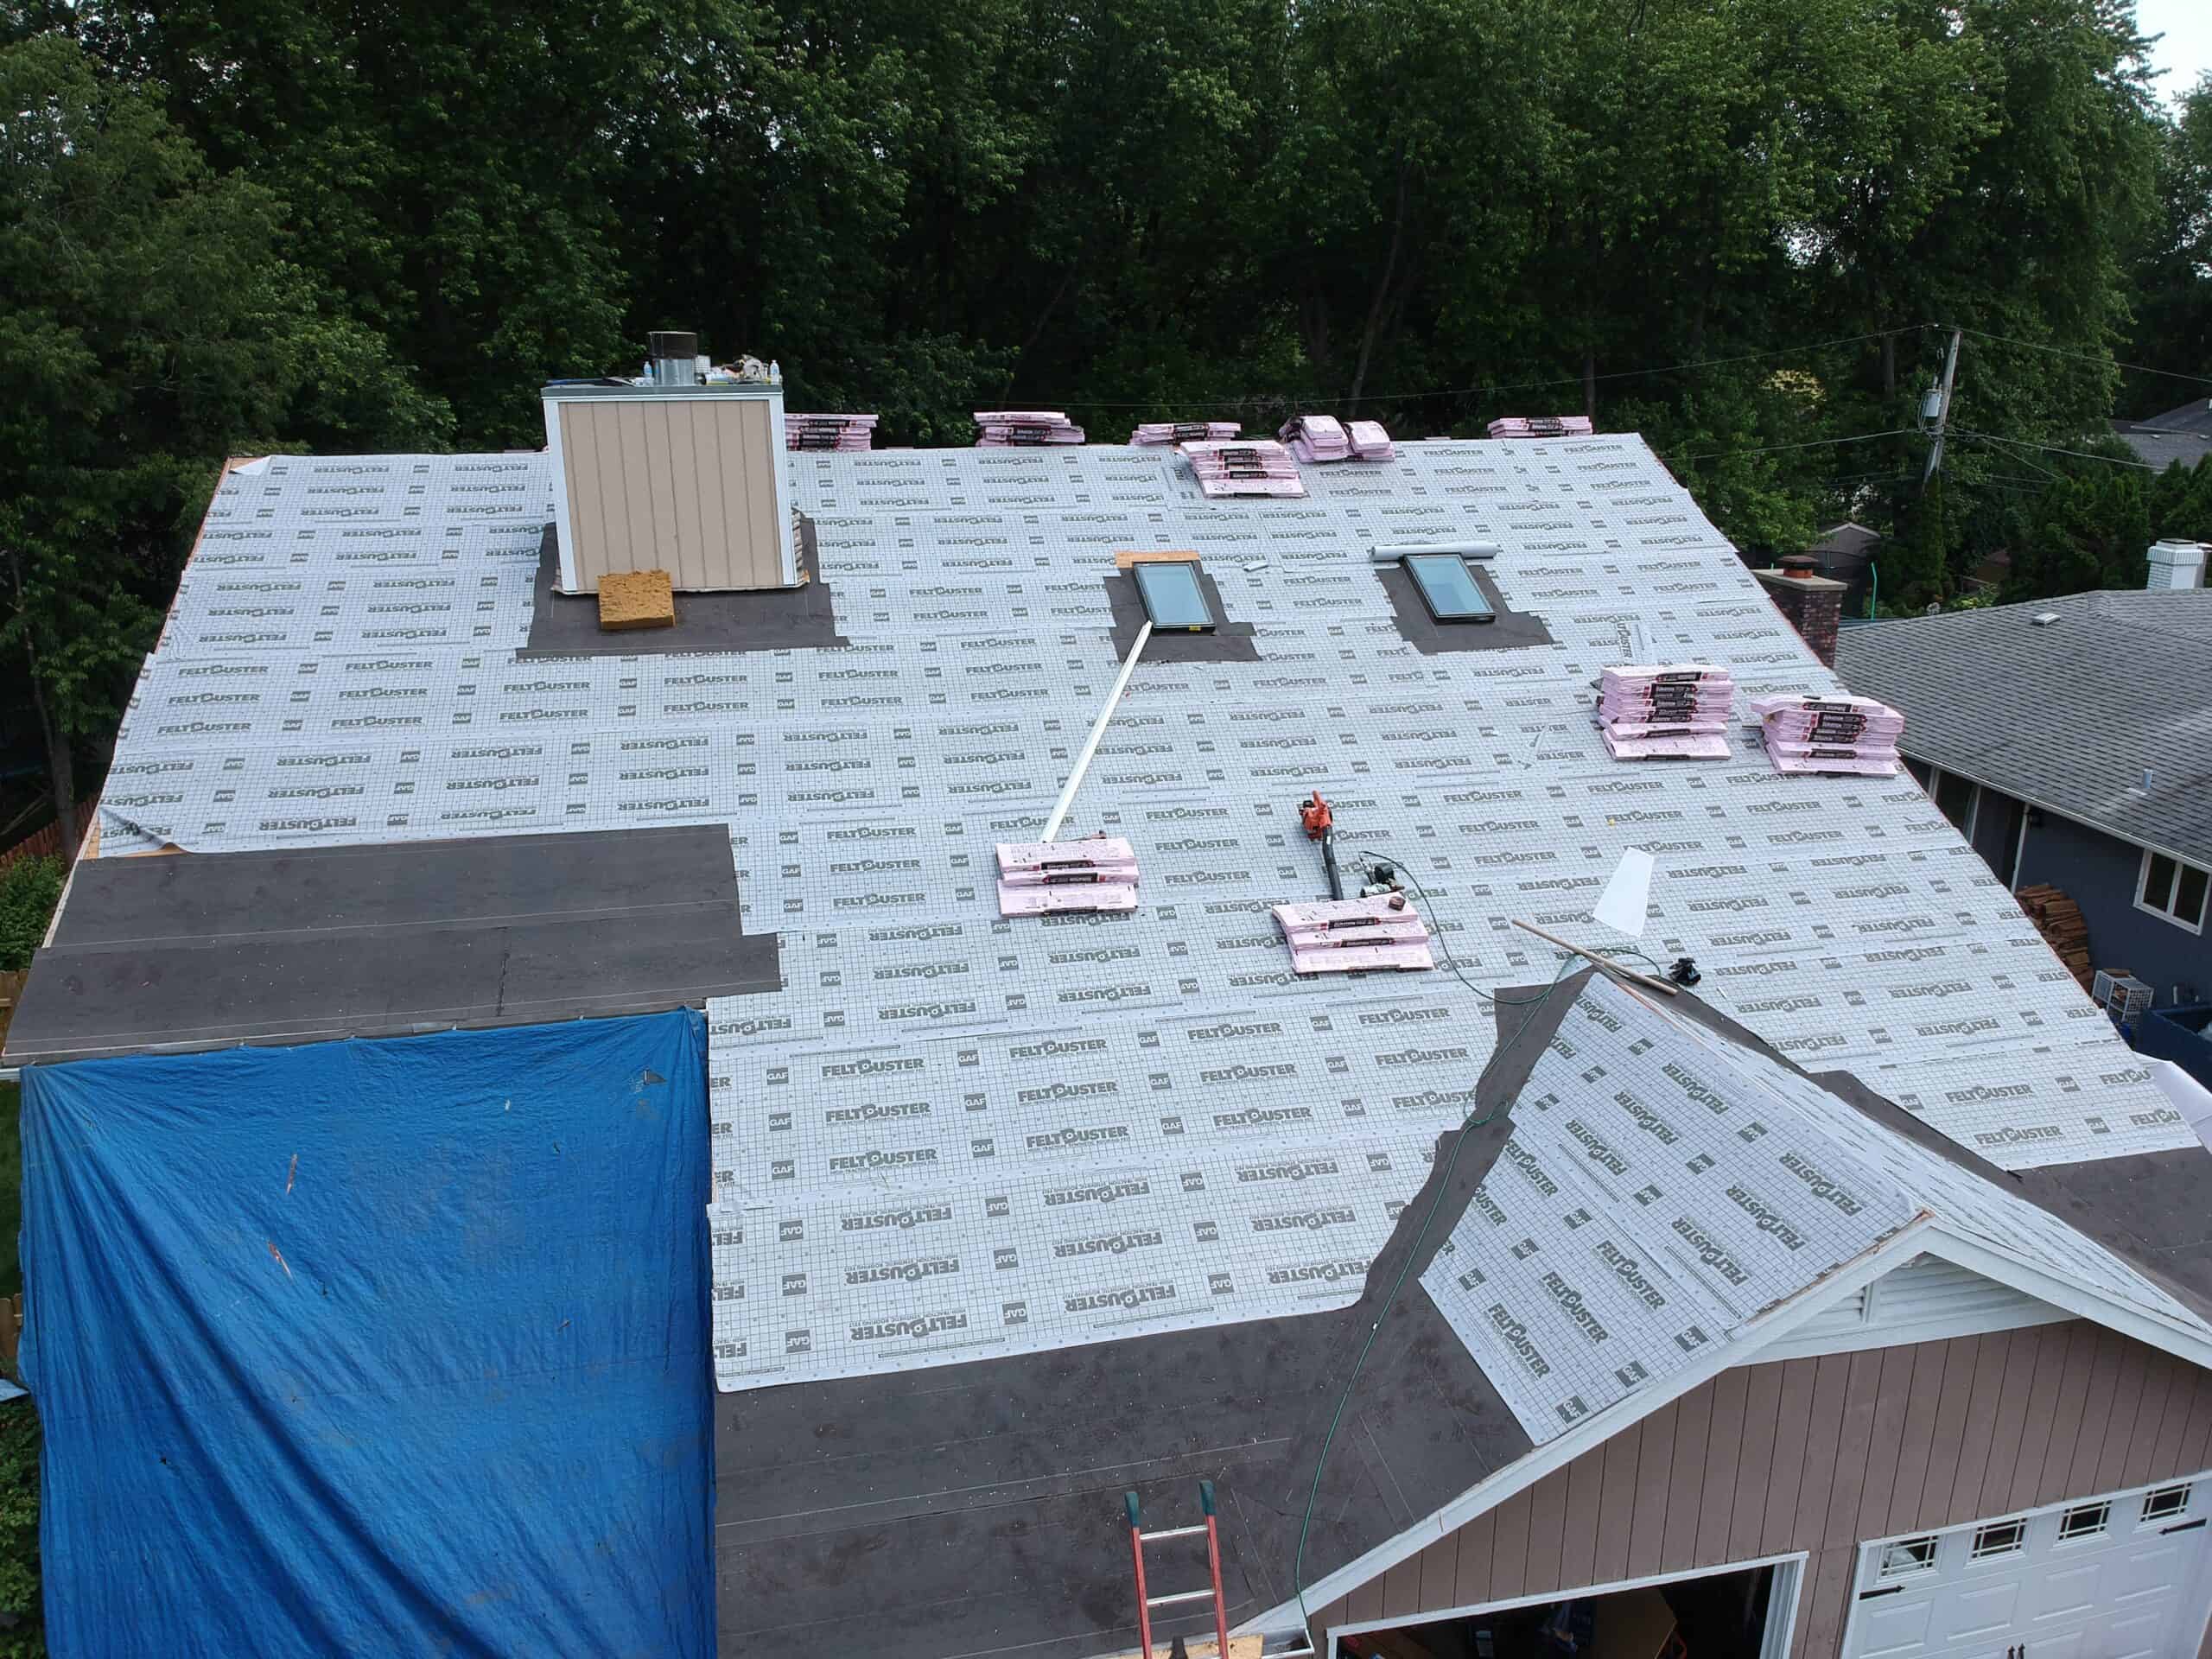
Installing a residential standing seam metal roof can seem like a daunting task, but with the right tools and guidance, it can be a smooth and successful process. Begin by measuring the roof to determine the proper amount of materials needed. Once the materials have been acquired, start by installing the underlayment and trim around the edges. Nail down the panels, making sure to follow the manufacturer’s instructions and ensuring they are properly spaced for expansion and contraction. Finish by applying the ridge cap and any necessary sealant. Although the process may take some time and effort, the end result will be a durable and attractive roof that will last for years to come.

Residential Roofing Company Near Me
https://www.google.com/maps?cid=5194126792545319437

